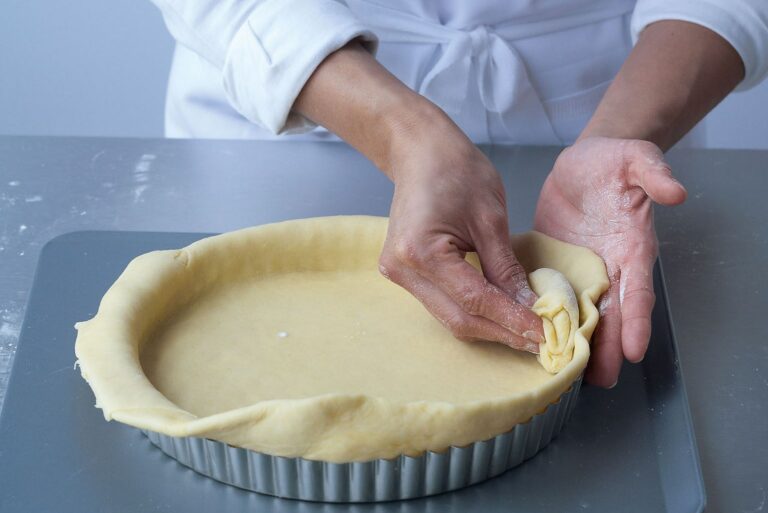
Those following a gluten-free diet don’t have to miss out on the joys of pastry. We are lucky to have run classes with Tom Thexton of Wild Thexton, who supplies many of the best restaurants in London with his gluten-free bakes, and he has kindly shared his recipe for gluten-free pastry with us; it’s the best we’ve tasted. It can be used like shortcrust pastry and baked blind if required.
Ingredients
Instructions
Makes enough to line a 24cm flat tin
- 200g gluten-free flour (such as Doves Farm)
- Pinch of salt
- 1 level tsp xanthan gum
- 40g chilled butter
- 60g margarine
- 1 tbsp icing sugar (for sweet pastry, optional)
- 1 large egg
- 15-25ml milk
- Sift the flour and salt into a bowl with the xanthan gum. Cut the butter and margarine into small pieces and add to the flour. Using 2 cutlery knives and working in a scissor action, cut the fat into the flour, keeping the 2 knives in contact.
- Once the fat has been broken down to small pea-sized pieces, use your fingertips to gently rub the flour and little pieces of fat together until the mixture resembles pale breadcrumbs of uniform size. Alternatively, use a food processor and pulse the ingredients to reach this stage. Stir in the icing sugar if making sweet pastry.
- Mix the egg with 15ml milk, using a fork, until evenly combined. Stir the liquid into the flour mixture and distribute as quickly as possible with a cutlery knife. If the pastry is still too dry and won’t come together, add the rest of the milk, little by little.
- Use the flat of the knife to bring the dough together, then pull the pastry together with your hands and shape it into a flat disc, about 1.5cm thick. Wrap in cling film and chill in the fridge for 20 minutes.
- Roll the chilled pastry out according to the recipe, between 2 sheets of cling film or baking parchment; this makes rolling out much easier as the pastry may be crumbly.
- Chill the pastry in its final shape until very firm before baking. Bake at 180C/gas mark 4 in the top third of the oven. It is cooked when the pastry has no grey patches and feels sandy to the touch.
A note on making short pastries by machine…
Food processors and food mixers (of the Magimix/Kenwood.KitchenAid type) are very effective for the rubbing-in stage of pastry making. Add the flour, pieces of cold fat and any salt and flavourings, and process by pulsing the food processor or using a low speed on the mixer with the ‘K’ beater until the butter and flour have reached a ‘breadcrumb’ stage. Stop mixing before the dough clumps together or you won’t be able to add enough liquid into the dough to hold it together when rolling it out and once it is cooked it will crumble. We would recommend you then remove the crumbly mixture from the machine and add any sugar and the liquid by hand, according to the recipe; it is very easy to make the mistake of adding to much liquid or overworking the dough when you continue adding the liquid by machine.
